Order your copy of Jonathan Fields’ new book, How to Live a Good Life: Soulful Stories, Surprising Science and Practical Wisdom, today! It’s available at booksellers everywhere. And, you can download the first chapter and invest in your copy now.
++++++++++++++++++++++++++
What is our podcasting setup?
That’s one the most popular questions we get. So, we figured we’d devote this week’s short and sweet GLP Riff to sharing the exact podcasting equipment that we use to create the Good Life Project podcast.
Below, you’ll find links to everything mentioned. In the podcast, we also move between the two different setups and mics mentioned so that you can hear the differences in tone and help figure out which might work best for you.
Fair disclosure, we strive to create a broadcast-quality recording experience (with the exception of random sirens and construction noise, but hey, we’re in NYC!). That means, this equipment is not necessary on the most budget-conscious side of the spectrum. So, right underneath this list, we’re also sharing a different setup that is much more affordable, and likely great for anyone new to audio media production.
Here’s our podcast studio setup:
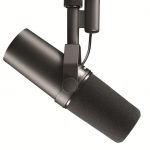 Shure SM7B – These are our go-to mics for studio recording. They’re legendary in the industry and you’ll find them in many radio and recording studios, because they produce a warm, intimate “public radio” sounding tone. They’ve also been called the “Voice of God” mics because of this and rumor has it, they’re what Michael Jackson recorded the album Thriller on. While they are not inexpensive, compared to other pro-grade mics, they are an outright bargain.
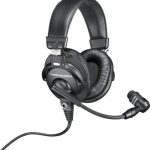 Audio Technica BPHS1 headset mic – These are great for portability. We’ll often travel with two in a backpack, because they don’t require stands and have the mic and headphones in a single package. They also allow you to move around more, since the mic follows you wherever you go. But, as you’ll hear on the podcast, they do not produce as rich or warm a tone as our Shure studio mics above.
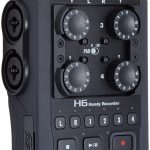 Zoom H6 recording device – This device allows us to record up to four people at once, using high-quality mics. You can balance the volume of each mic, watch them on a digital meter and it also generates something called “phantom power” which is needed to help drive power-hungry mics like the Shure SM7B. The other great benefit is that it can be powered by 4 AA batteries, so it is super-easy to use in the field. And, it comes with two on-board mic options, one for ambient room/environment recording, and one for interviews, that are actually quite good in a pinch. It also doesn’t force you rely on a computer or software, which can sometimes add an extra potential point of failure.
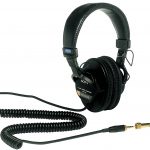 Sony MDR7506 professional monitor headphones – These are different from typical headphones you might buy for everyday music listening. They are what’s known as studio monitors. Instead of trying to create a rich bass or crystal clear high-end, they give you what is called a “flat” response. That means, they are very true to what was actually recorded and, hopefully, what the listener will eventually hear. Having this flat response during both recording and editing is critical for being able to make the most satisfying and accurate edits.
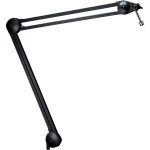 Heil PL-2T swing arm mount – Swingarm mounts are bigger and more cumberson than simple table-top stands, but they are much better at isolating the mics to avoid having the sound of movement on a table come through the mics. You don’t need these if you are using the headsets above, but the Shure SM7B mics are so sensitive, you’ll want a solid swingarm if possible. We use these, even though they are more expensive than others, because the build quality is great and the SM7B is a heavy mic that really needs the support of something solid.
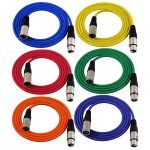 XLR Connector Cables – Better quality mics often use a type of cable called XLR cables. They’re pretty inexpensive, so we buy them by the pack. Every once in a while, you get a bad cable, or one goes bad. So, it’s good to have backups on hand. We also like buying multicolored packs, because it lets us more easily track which mic is plugged into which input. The downside with these, of course, is that you cannot run them straight into a computer, if you choose to record directly into software (like the programs shared below). So, you’d need a mixer or other device that let’s you plug into the computer, most often via USB cable.
Now, for those who are looking for a more affordable starter setup that is still great quality, here’s what we’d suggest:
Affordable podcast setup, great for those getting started or on the road:
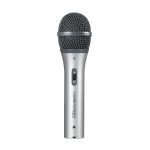 Audio Technica ATR2100 – USB/XLR – This is a great mic with nice tone, it’s small and easy to carry, and comes with it’s own mini-stand. It also has the ability to use either a pro-grade XLR cable or a simple USB cable to lets you plug it straight into your computer with no need for a pre-amp or mixer. And, it has a headphone jack built-in, so you can listen right through the mic.
 Sony MDR7506 professional monitor headphones – Yes, these are the same headphones as above, but they are actually quite affordable for the quality. We’d suggest not skimping on these. That said, if you’re really on a budget, you can get by for a while with earbuds, though they may not do a good job of letting you know that there are sound issues while you’re recording.
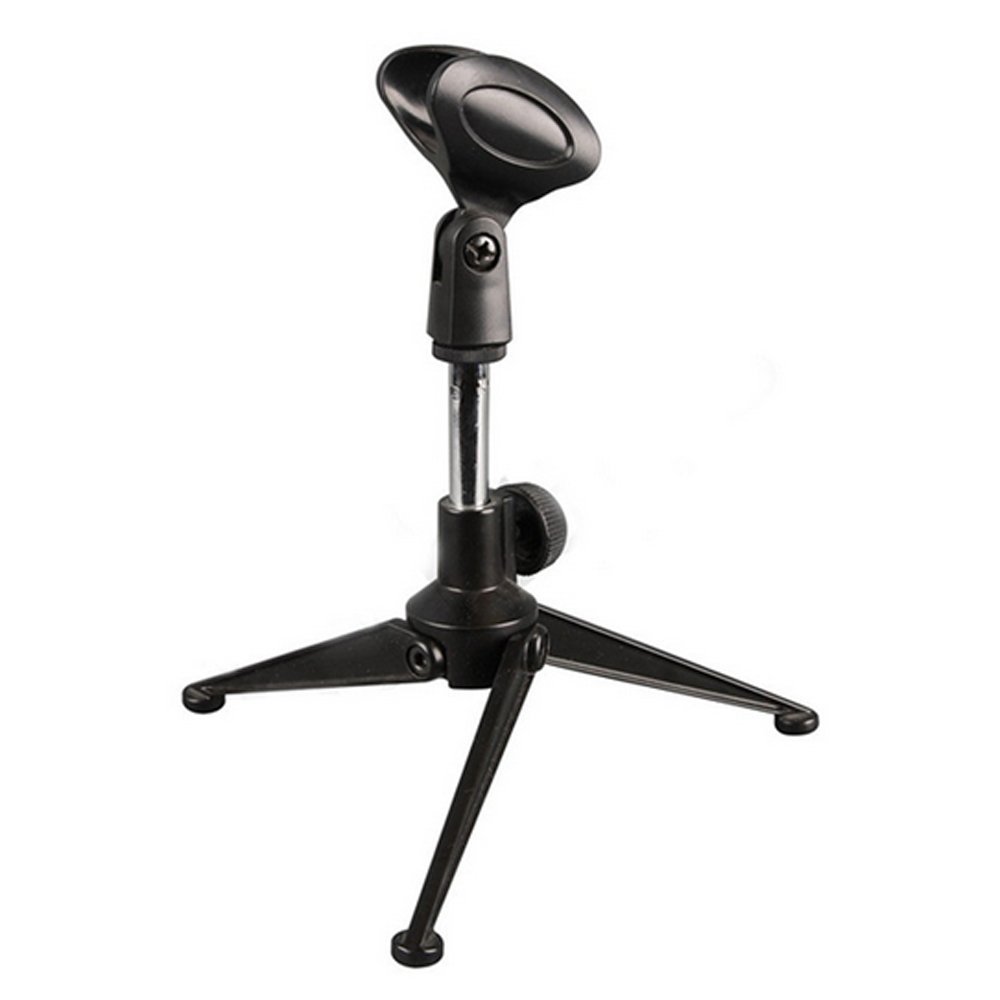 Etubby Adjustable Foldable Tripod Desktop Microphone Stand – Even though the ATR2100 comes with a stand, honestly, we found it pretty flimsy and it is also very low. We’d suggest spending a tiny bit extra and picking up this as a replacement. It is much sturdier, and it telescopes a bit higher, which can help adjust for different table heights.
One last thing, regardless of setup, you’ll need some kind of software to create the final mix. And, for the budget setup, you’ll need something to record, too.
A few great options to record and edit your podcast include:
Audacity – free, open-source software with a lot of great functionality to both record, if using the budget setup, and edit the final cut regardless of how you recorded the raw files.
Garageband – for those on Apple devices, this can be a great option for both recording and mixing.
Pro Tools – The mac-daddy of recording software. This is as powerful as anything you’ll ever need for everything from basic interviews to complex sound-scaping. But, there’s also a pretty serious learning curve.
We hope that helps all of our budding podcasters and audio producers. We can’t wait to hear what you create!
